For a long time, I have been bugged by using Google Analytics on this website. On the one hand, I want to respect your privacy, and on the other hand I would like to know roughly how many people are reading which articles.
So I have been using Google Analytics it's free and easy to set up even though what is extensibly a blog has no business having those levels of tracking. While I have tried to make it better by having a robust Cookie Consent modal, it still never sat right with me.
While there are many more privacy preserving analytics options, they cost money which is outside the budget of this website which is enough of a cost sink already. But now that I have installed Coolify on my home-lab server, I can use that to run Plausible which is a simple privacy preserving analytics tool.
In this note, I will share my journey setting up Plausible on Coolify, and using Cloudflare tunnels to securely expose it to the internet. (This guide is also useful if you're installing another service and want to understand how to expose a Coolify service with tunnels).
I use the setup guide to install the service. When adding the domain, make sure to use the http:// protocol. Cloudflare will take care of TLS, and use :8000 the port on which the service expects traffic. For example, if you want to run the service on https://analytics.yourdomain.com, you will write http://analytics.yourdomain.com:8000 in the Domains field of the Plausible service.
Next, we need to set up the Cloudflare tunnel.
I assume you use Cloudflare for DNS. If not, you just need to add a CNAME record with the subdomain as the name (for example analytics following the above example), and the tunnel id as the value.
You need to go to dash.cloudflare.com then Zero Trust > Networks > Tunnels. Use the guide to install cloudflared on the server which has Coolify installed. (If it doesn't pop up yet, just follow the next steps, it should prompt you again later.)
Then hit Create Tunnel, select cloudflared give it a name [server name] will do fine as you will use this tunnel for any service you want to route through that server. Copy the command to install the connector
sudo cloudflared service install [base64string]You will also have a chance to install cloudflared if you haven't already. Once you have installed the service, you should be able to see the server in the list of connectors. Select it, and configure the tunnel.
For the domain, you want the public hostname to be whichever subdomain you want to access the service from. For example analytics.yourdomain.com. You can just leave the path blank. The service type should be http this is important. Again, Cloudflare will take care of establishing a secure connection. The URL should be localhost:80 this way Coolify will correctly proxy the service.
If you use:8000(the port of the service), it will happen to overlap with Coolify's dashboard port, and you will just access Coolify when trying to access the service. In short, always use:80to ensure correct proxying.
If you're not using Cloudflare for DNS, don't forget to add the DNS record. You can see the tunnel id in the dashboard.
And that's it.
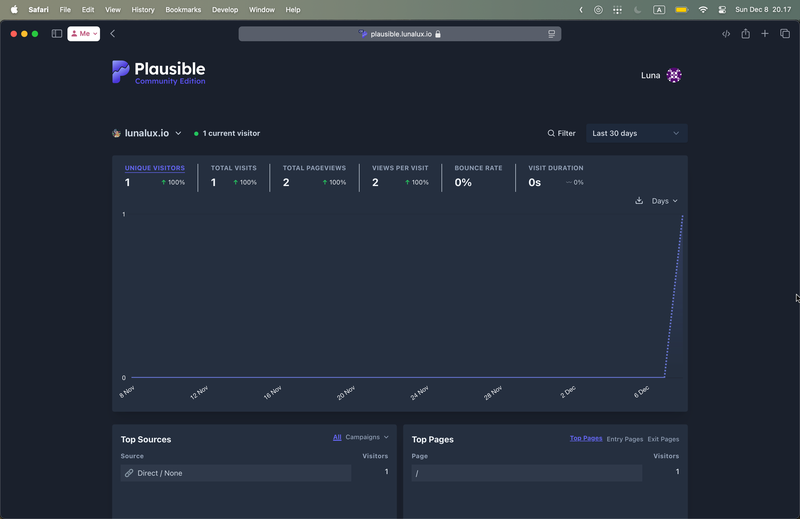
We can now our domain https://analytics.yourdomain.com and follow the wizard. Once we have copied the installation code to our site, we should see

The installation is actually very simple. But it can be tricky to troubleshoot if we use the wrong domain or port or protocol at any link in the chain. The documentation does not do a great job of explaining how to do it correctly. Rasmus' guide helped me a lot pointing me in the right direction.