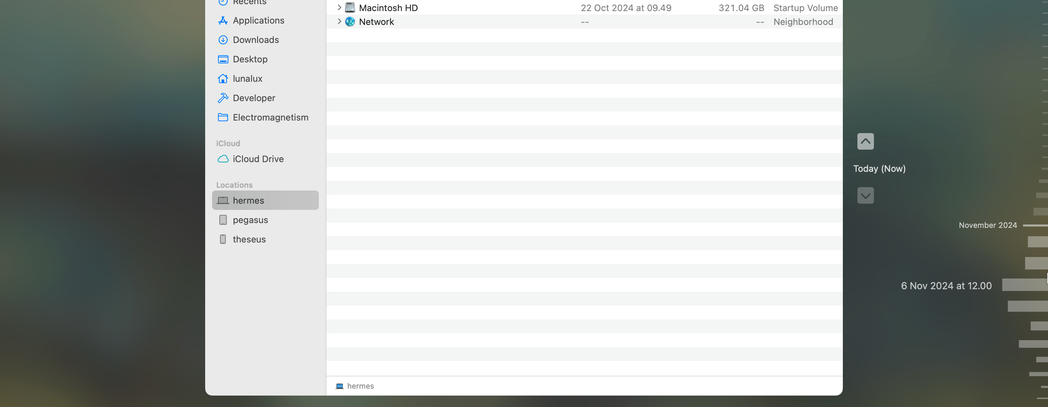
My backup situation for the past while has been less than ideal. I did sync my most important data with a cloud provider, and I did do occasional manual backups of selected data to an external disk, but really, I had no transparent full-disk automatic backup strategy.
Let us fix that.
If you are planning on following along, you might want to read the caveats and limitations before continuing.
The Setup
I have an offsite Ubuntu Server with 2x3TB harddrives which I want to use for the backup.
I have installed ZFS and configured the harddrives in mirror mode. You can use this tutorial to set up a zpool which is required to create the file systems later.
Machine details:
Ubuntu: 22.04.5 LTS
2x3TB harddrives configured in mirror mode
Networking
The computer is on a different network which complicates the setup a bit. The server needs to be reliably accessible for the backups to work transparently in the background. So we need to set up some VPN service.
If you have your server on your home network, and don't need to access the backups when you're away from home, you can skip this section.
I use Tailscale which is a commercial solution built on top of WireGuard. It's dead-simple to set up, and their free tier is more than sufficient for most's personal needs, and importantly it works in two different modes. You can either use it as a traditional VPN in which you route all your internet traffic through the VPN, or you can use it to just extend the local network to include devices in the Tailscale network while routing other internet traffic as normal.
This makes it possible to access devices as if they're on the local network while using services like Apple's Private Relay to obfuscate internet traffic. But it also makes it possible to route internet traffic through a client which can be used to combat streaming service password sharing crackdowns in a way that's difficult for them to prevent, and can be used on sketchy WiFis that block commercial VPNs.
If you're interested in building a home lab, you might want to look into something like Tailscale.
Setting up Tailscale
To set up Tailscale, download the program on your edge device, create an account and follow the wizard. Then download Tailscale on the server and follow the instructions making sure you log in to the same account.
Finally, you can set up ACLs. The defaults are probably fine for you, but if you're unsure, you can add the following ACL to allow connecting to your own devices on any port.
{
	"action": "accept",
	"src":    ["autogroup:member"],
	"dst":    ["autogroup:self:*"],
}
You can do a lot of interesting things with the ACLs, but that's outside the scope of this article.
When it's working you should be able to run ping [hostname], and get a response.
Setting up Time Machine
Now that we are able to talk with the server, it's time to prepare the server for Time Machine. I used Daniel P. Gross' "scratchpad post" as a reference. I have expanded a bit on a couple of points that were unclear to me, but I largely follow the steps outlined by Gross.
First we need to create the filesystems. Since we already have a zpool set up, we can simply:
sudo zfs create -o compression=zle [pool]/time-machine
sudo zfs create [pool]/time-machine/[hermes|laptop-name]
For each other device you want to back up, you can add a new filesystem using the last command. I don't think it's strictly necessary for Time Machine, but I'm not sure, and it enables independent snapshot rollbacks if something bad happens on the server.
Next, we will add a user for each backup that owns the backup, and not much else. This is the user which we will log in with later.
sudo useradd --no-create-home --shell /usr/sbin/nologin time_machine_hermes

sudo chown time_machine_hermes:time_machine_hermes /[pool]/time-machine/hermes

sudo chmod og-rwx /[pool]/time-machine/hermes

sudo passwd time_machine_hermes # setup password
You need to replace time_machine_hermes with the user name you want, and /[pool]/time-machine/hermes with the location of your ZFS filesystem.
Now that we have the filesystem set up, we need to broadcast it over the network. We will use Apple Filing Protocol. There is some discussion about whether to use AFP or Samba (SMB) with the consensus seeming that SMB is a better more modern protocol, but also that Apple doesn't implement it correctly, so your mileage may vary. If you don't have luck with AFP, you might want to try SMB. We can install AFP by
sudo apt update && sudo apt install -y netatalkThen configure it to broadcast the right directory with the right permissions by
>> /etc/netatalk/afp.conf (append to file)
[tm_hermes]
path = /[pool]/time-machine/hermes
time machine = yes
valid users = time_machine_hermes
For multiple users and devices, you can change the configuration as appropriate. Then after restarting the service by sudo service netatalk restart, we should be able to connect to the drive from the Apple computer. Open finder > connect to server... (cmd+k), and then write
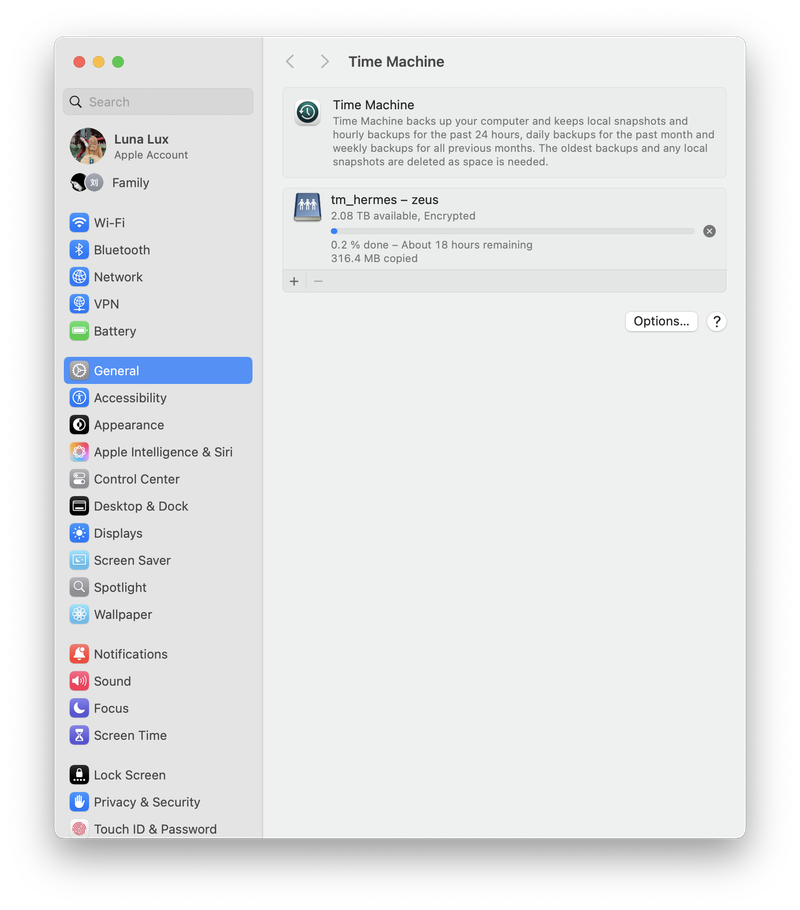
afp://[zeus|hostname]and enter the credentials for the user we created. Now that we have verified that the connection works and are connected, we can open Time Machine in settings and follow the wizard setting up the backup on the disk. You will be asked to reauthenticate, and if choose the save to keychain, Time Machine should be able to automatically connect to the server even when it's not connected in Finder.
Congratulations, the backup is now uploading.

Caveats & Limitations
It's very slow. Painfully slow. Time Machine was really not made to backup over the internet via a VPN. The initial backup might take days, and if you lose connection from the edge device going to sleep, or losing network access, then it will complain, and might refuse to restart the backup saying "Waiting for First Backup to Finish". For subsequent backups, it might also fail for the above mentioned reasons, and refuse to resume the backups saying "Backup disk is still in use".
In both cases, I have been able to resolve the issue by restarting the client, and if that didn't work restarting the server solved the problem.
Finally, you need to consider if you're able to access the local network of the server in case you need restore from a backup. If you want to do a full disk restoration, you cannot install Tailscale before, and you will only be able to connect to the Time Machine backup volume if you're on the same network.
